How to Use the Template Library in Social Planner

Modified on Mon, 29 Jun at 8:46 AM

Overview

The Social Planner's Template Library lets you quickly create and schedule social media posts using pre-built templates. Follow the steps below to select a template, schedule it across your channels, and import it into your planner.

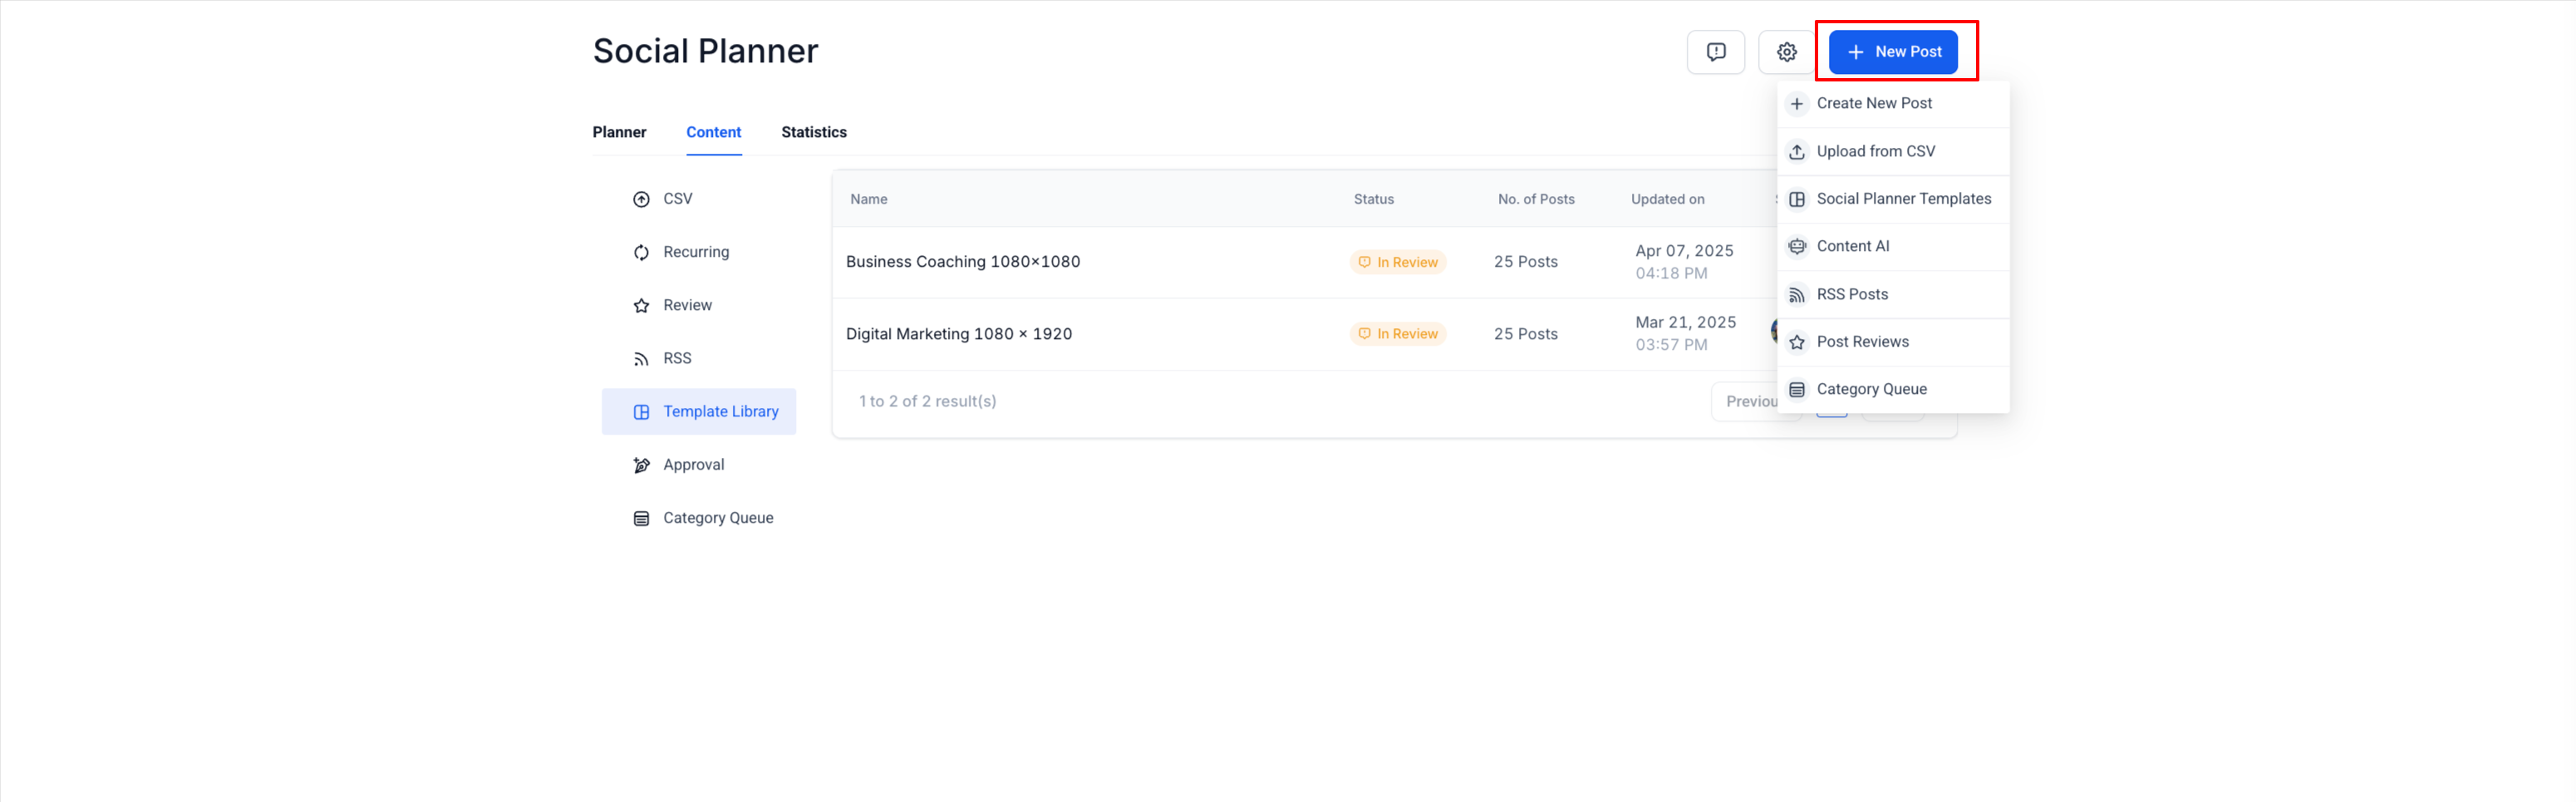
  • 1Click on "New Posts"
    Navigate to the Social Planner dashboard. Click the "New Posts" button to start creating a new social media post.
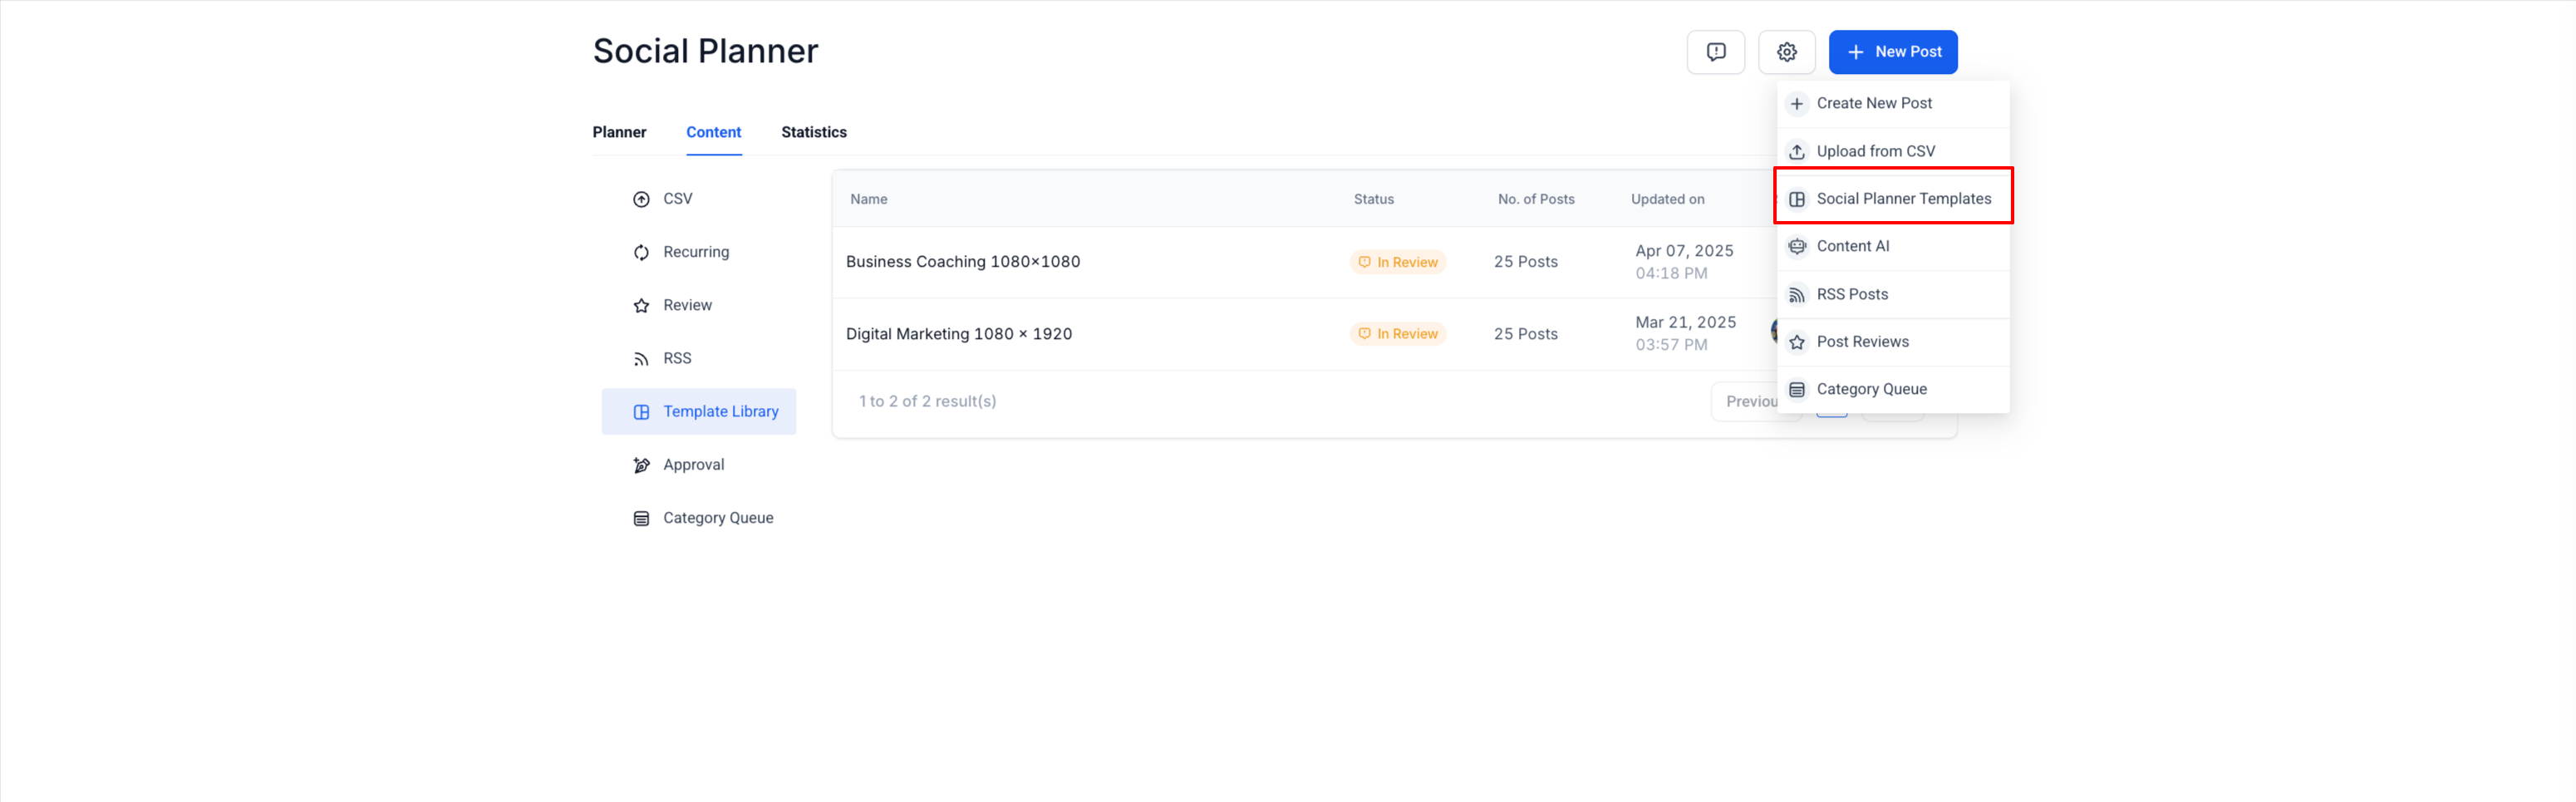
  • 2Choose "Social Planner Templates"
    From the options presented, select "Social Planner Templates" to browse through the available post templates.
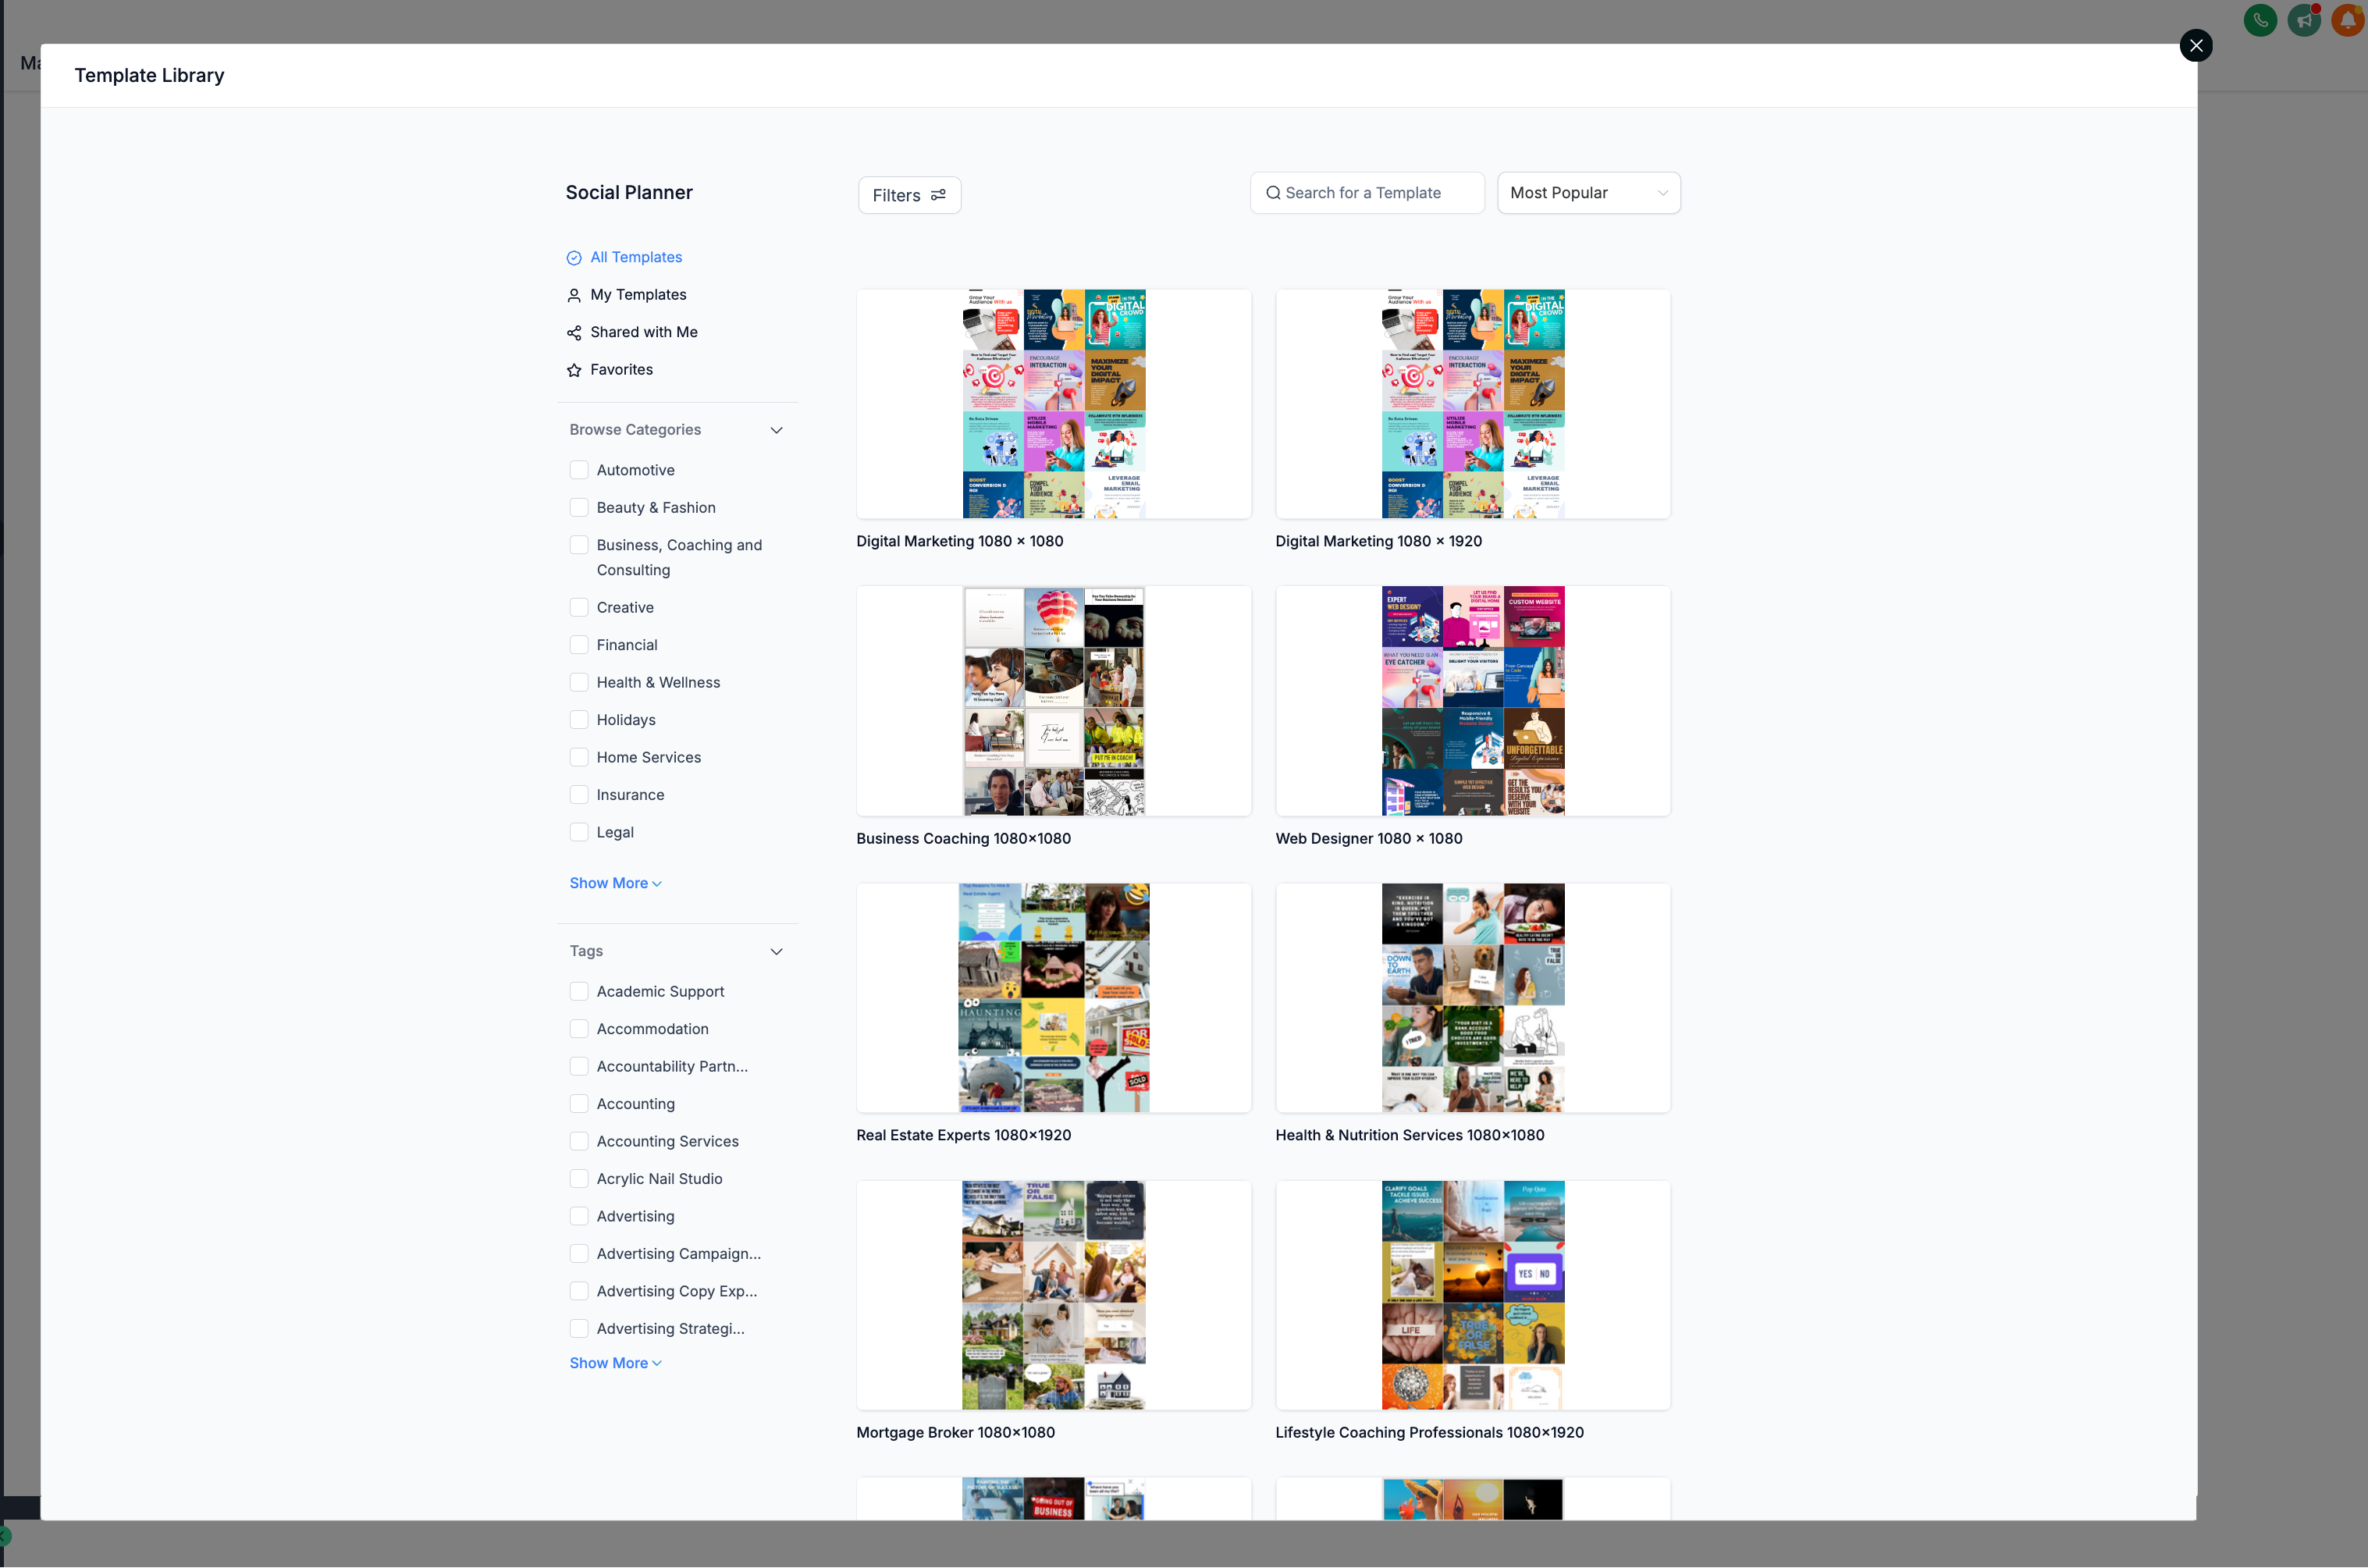
  • 3Select a Template
    Browse the template library and choose a template that suits your needs.
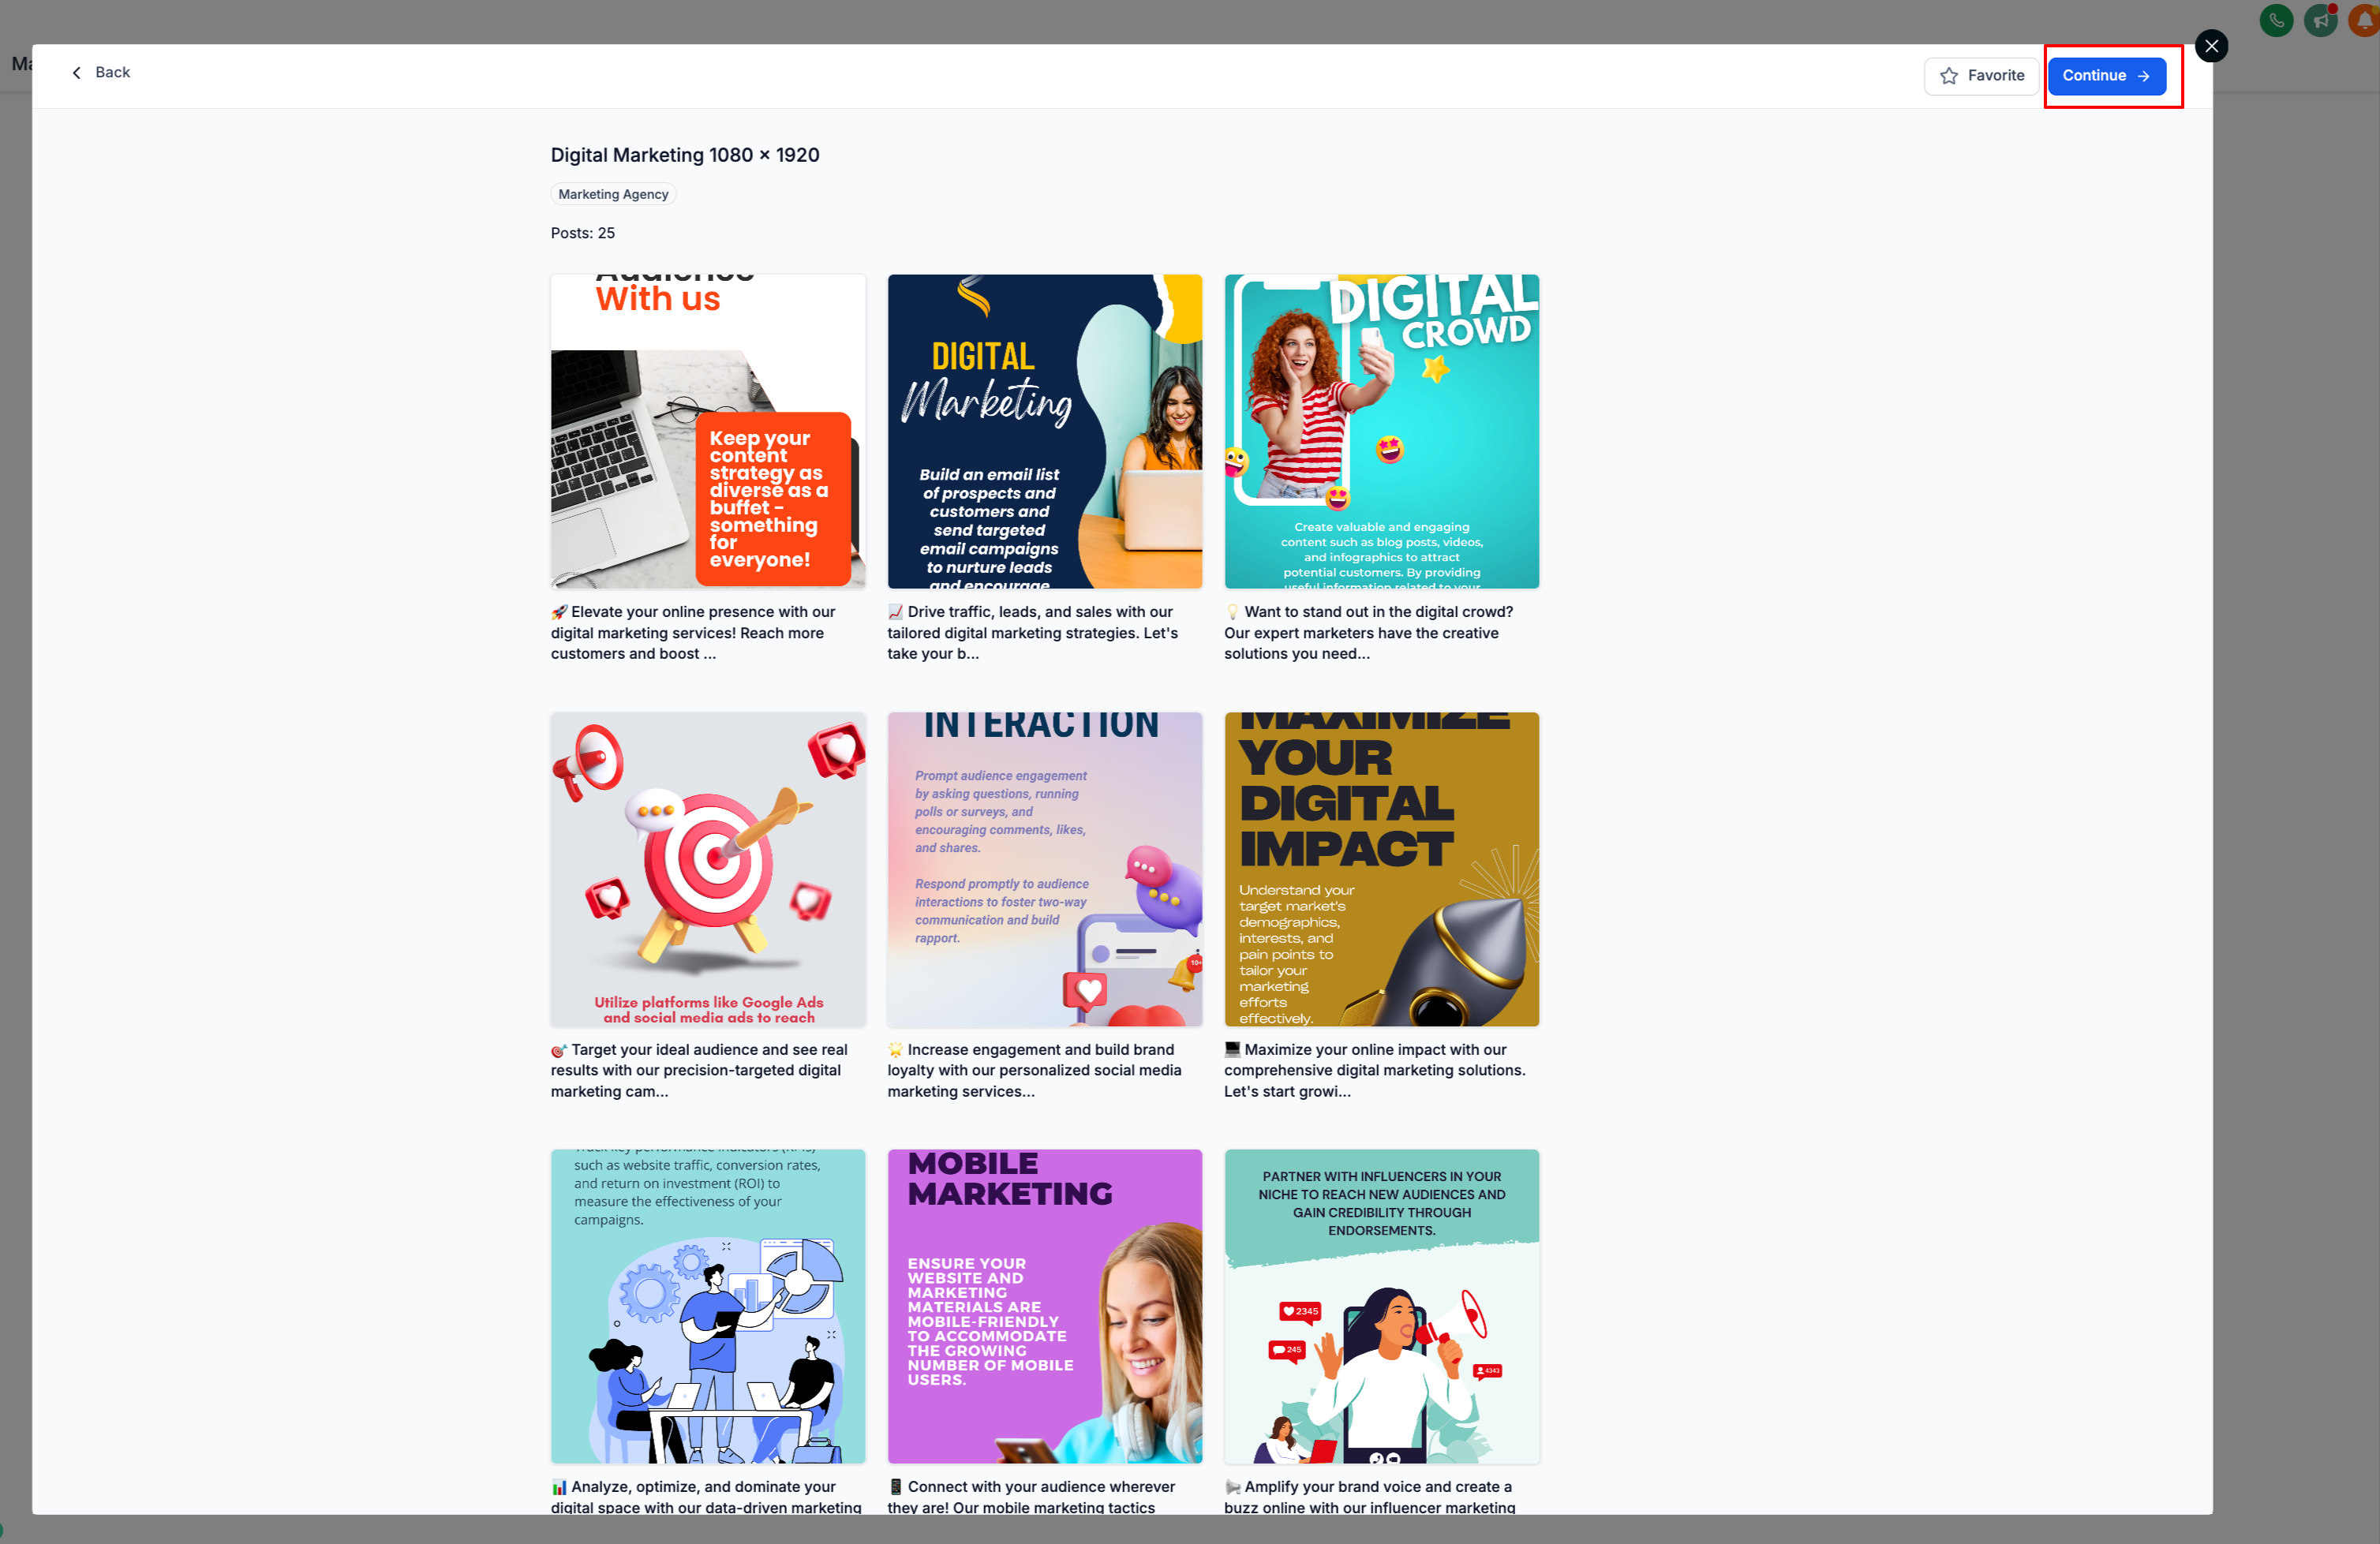
  • 4Click "Continue"
    After selecting a template, click the "Continue" button to move to the next step.
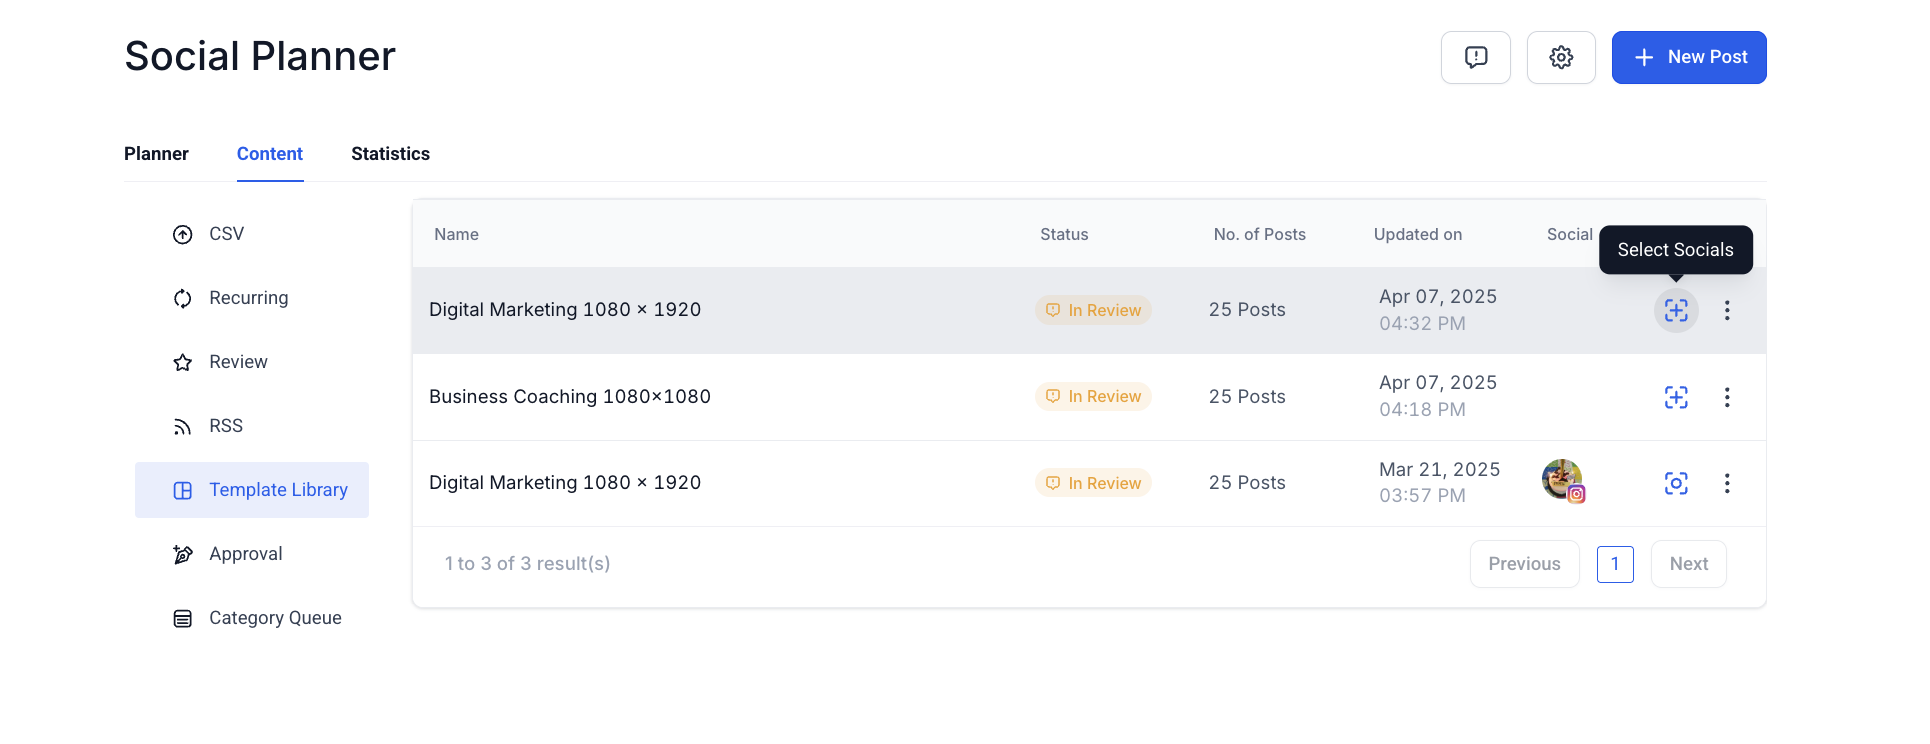
  • 5Click on "Select Socials"
    Choose the social media accounts or channels you want to post to.
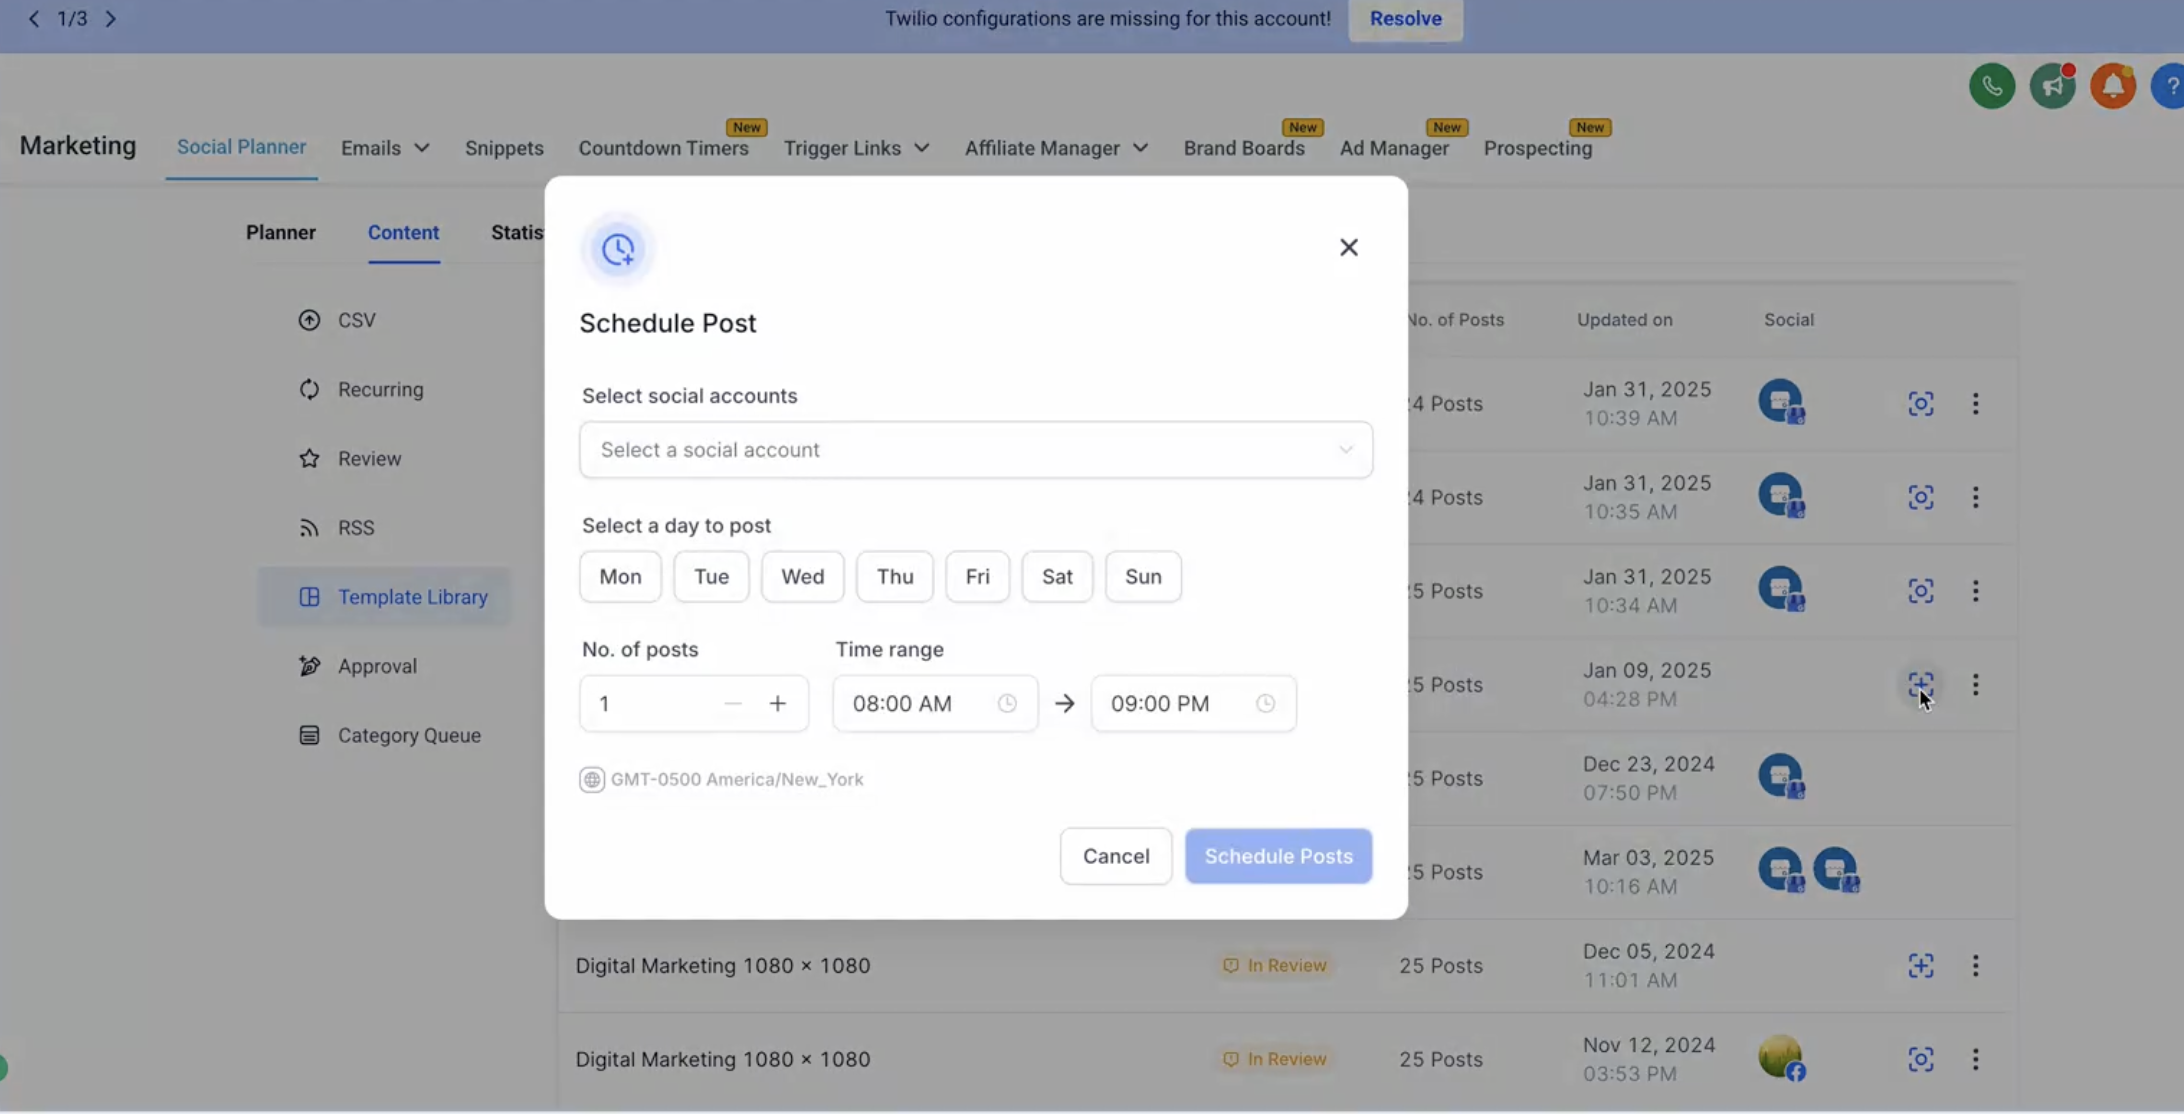
  • 6Add Schedule Details & Click "Schedule"
    Set the date, time, and channels where you want the post published. Click the "Schedule" button to save your scheduling preferences.
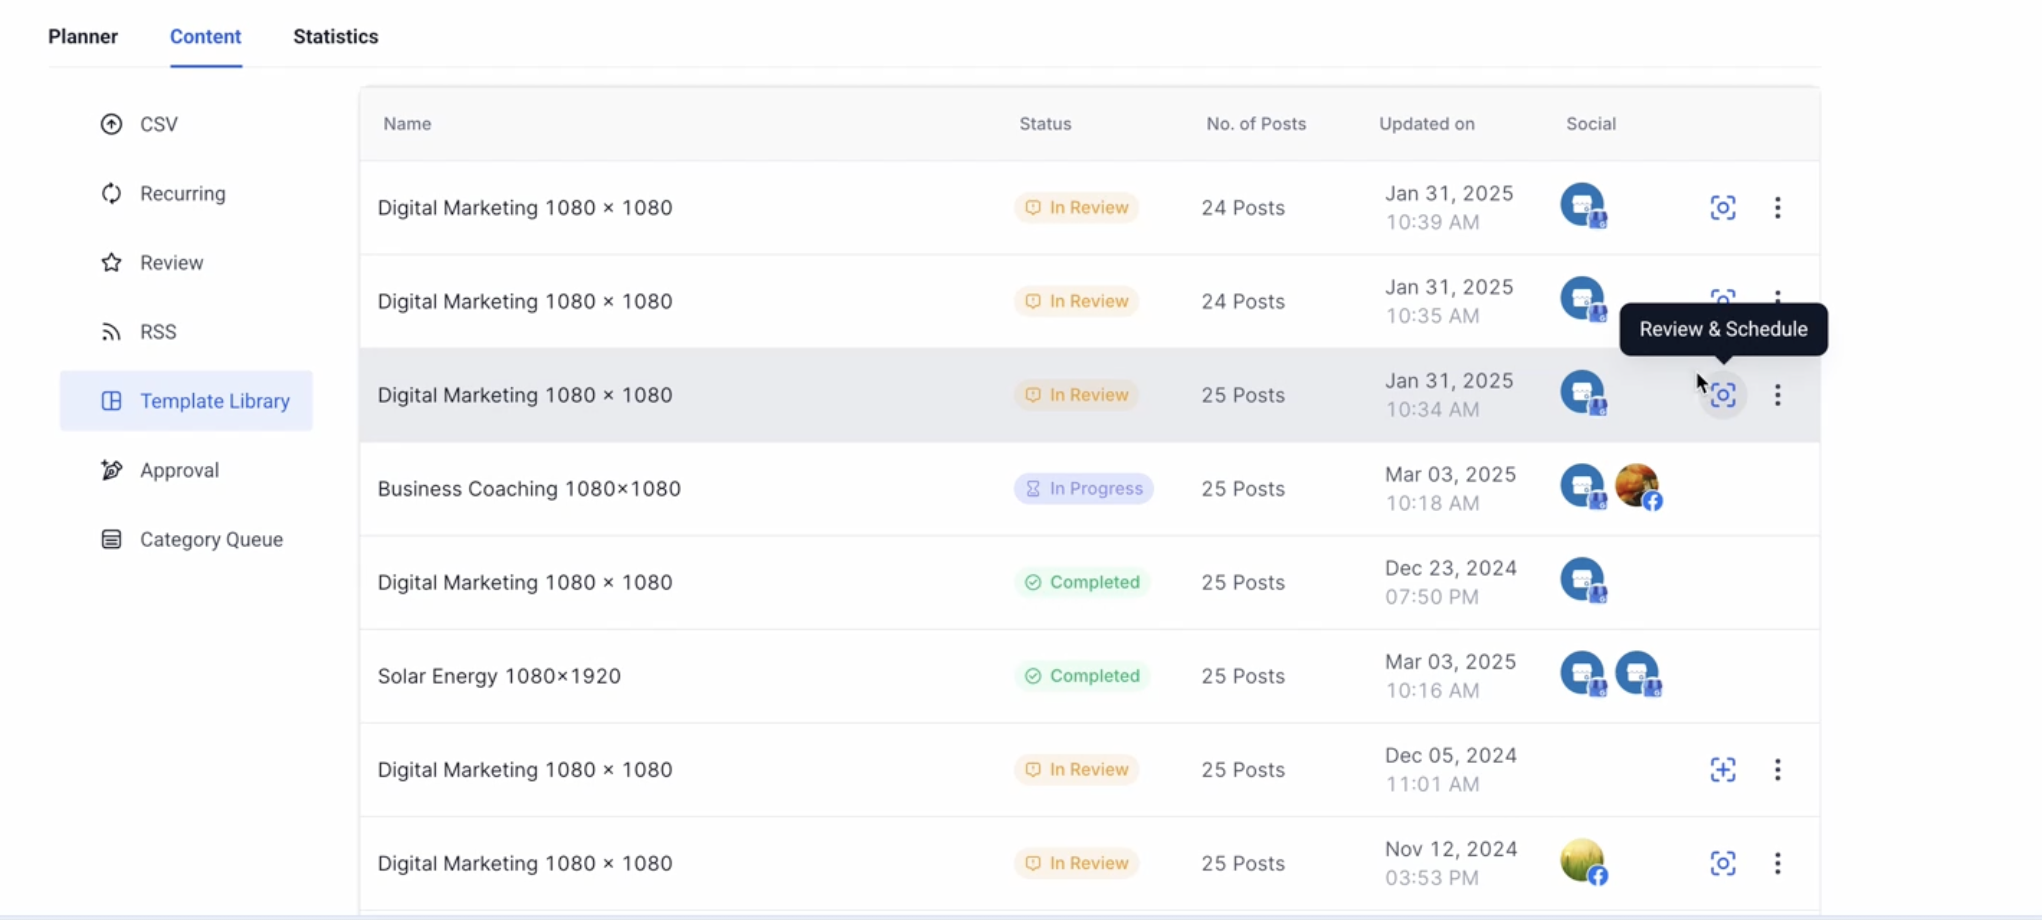
  • 7Click on "Review & Schedule"
    After a brief moment, the interface will refresh and display the "Review & Schedule" button.
    Click it to review all post details one more time.
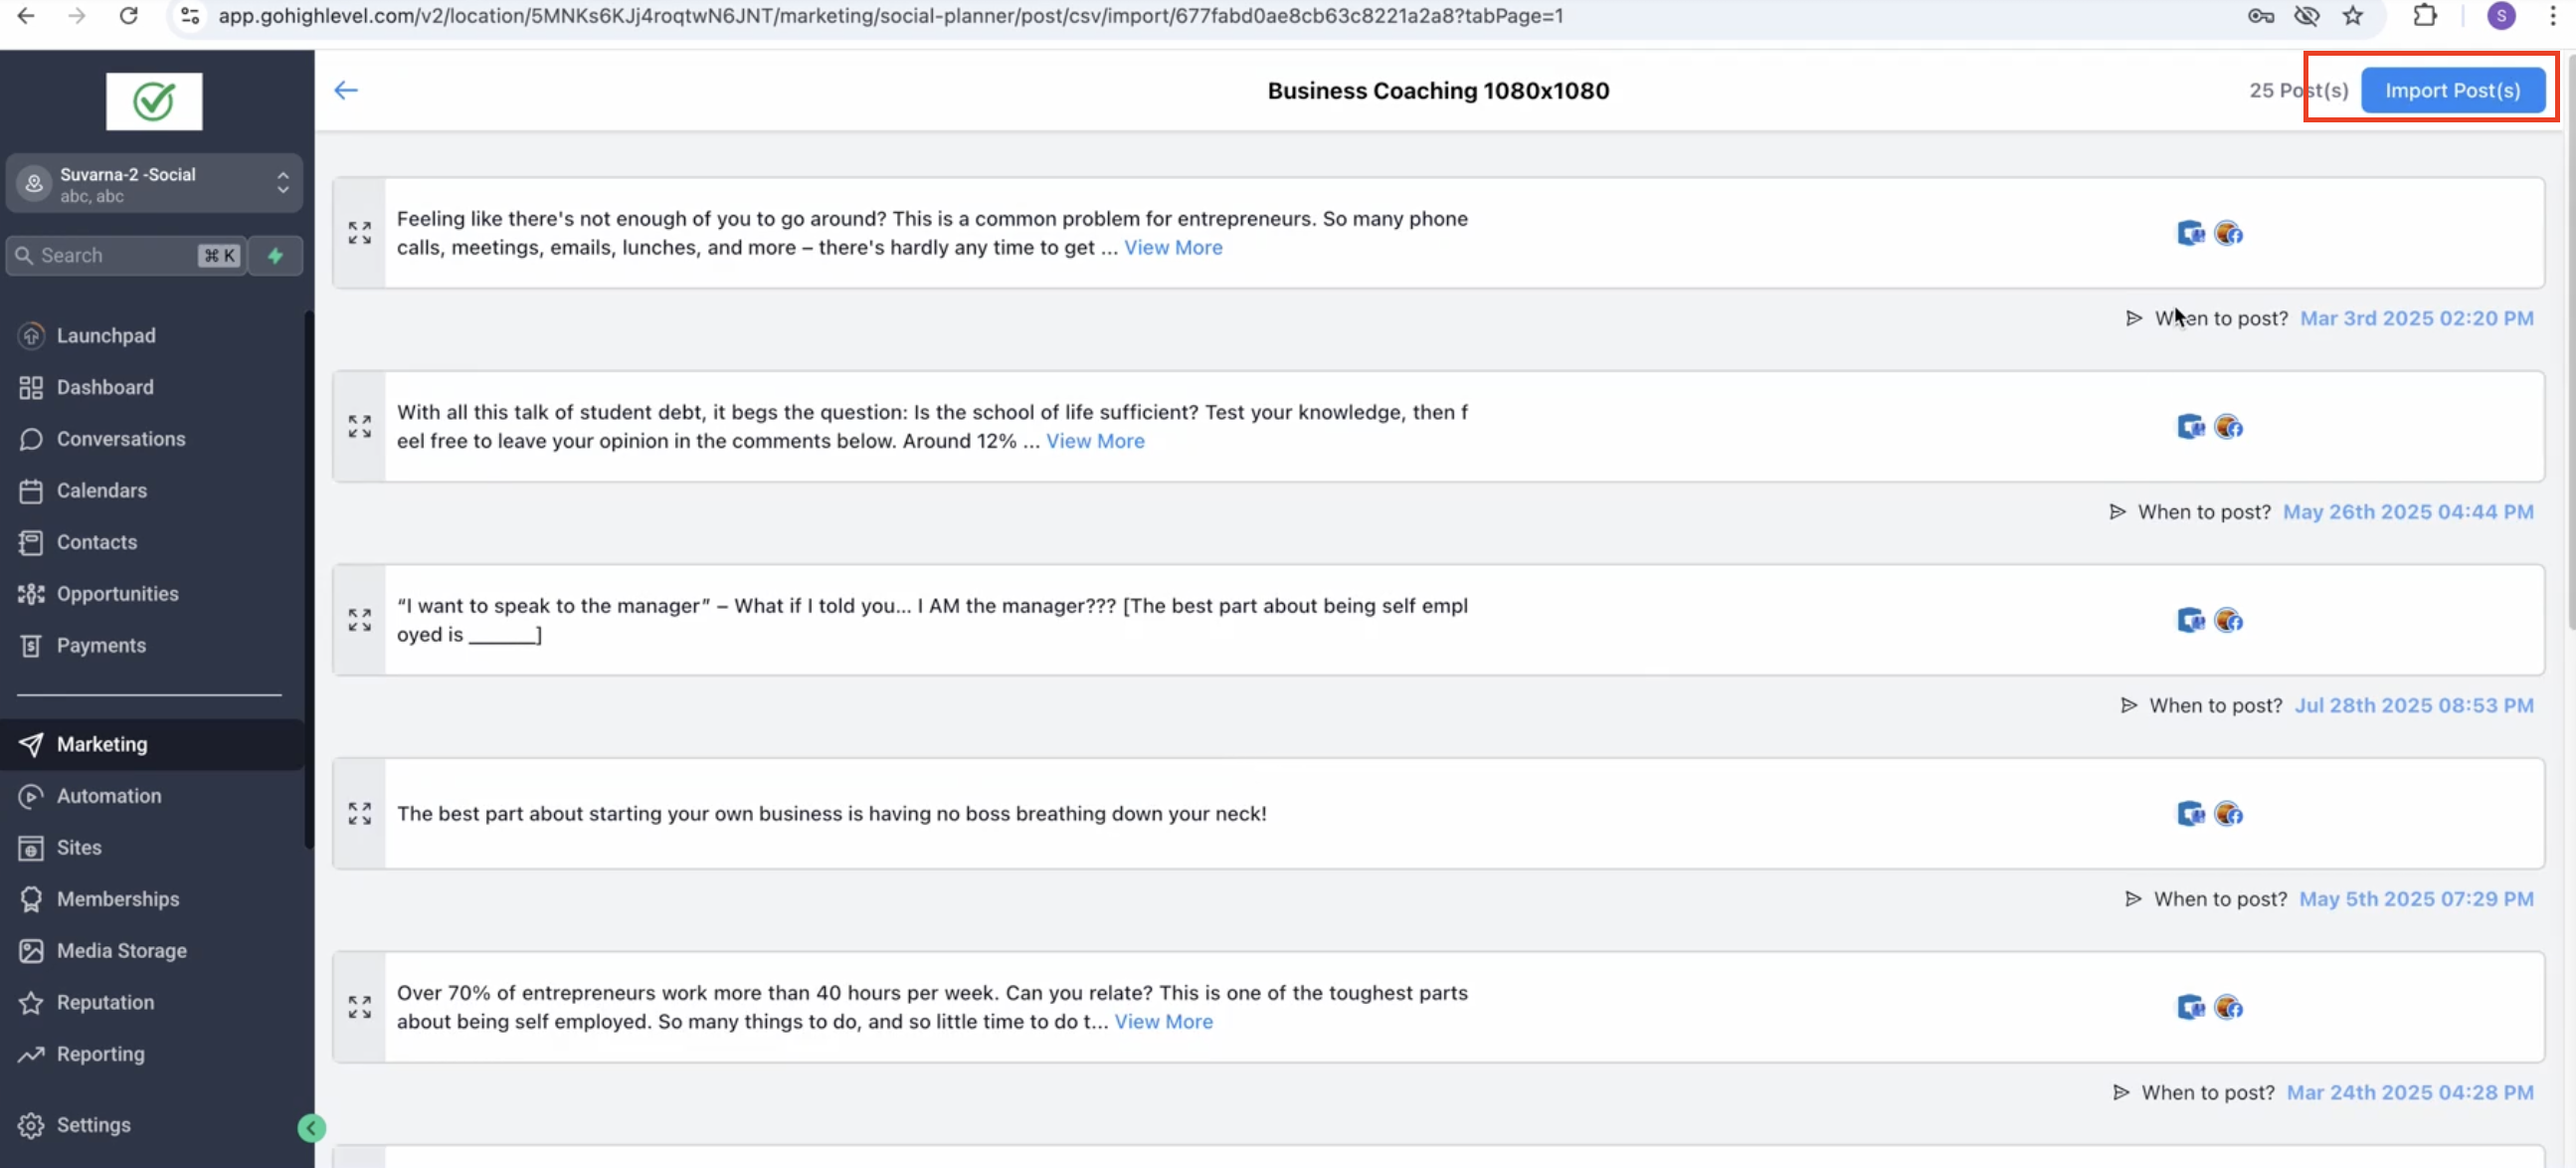
  • 8Make Any Final Edits
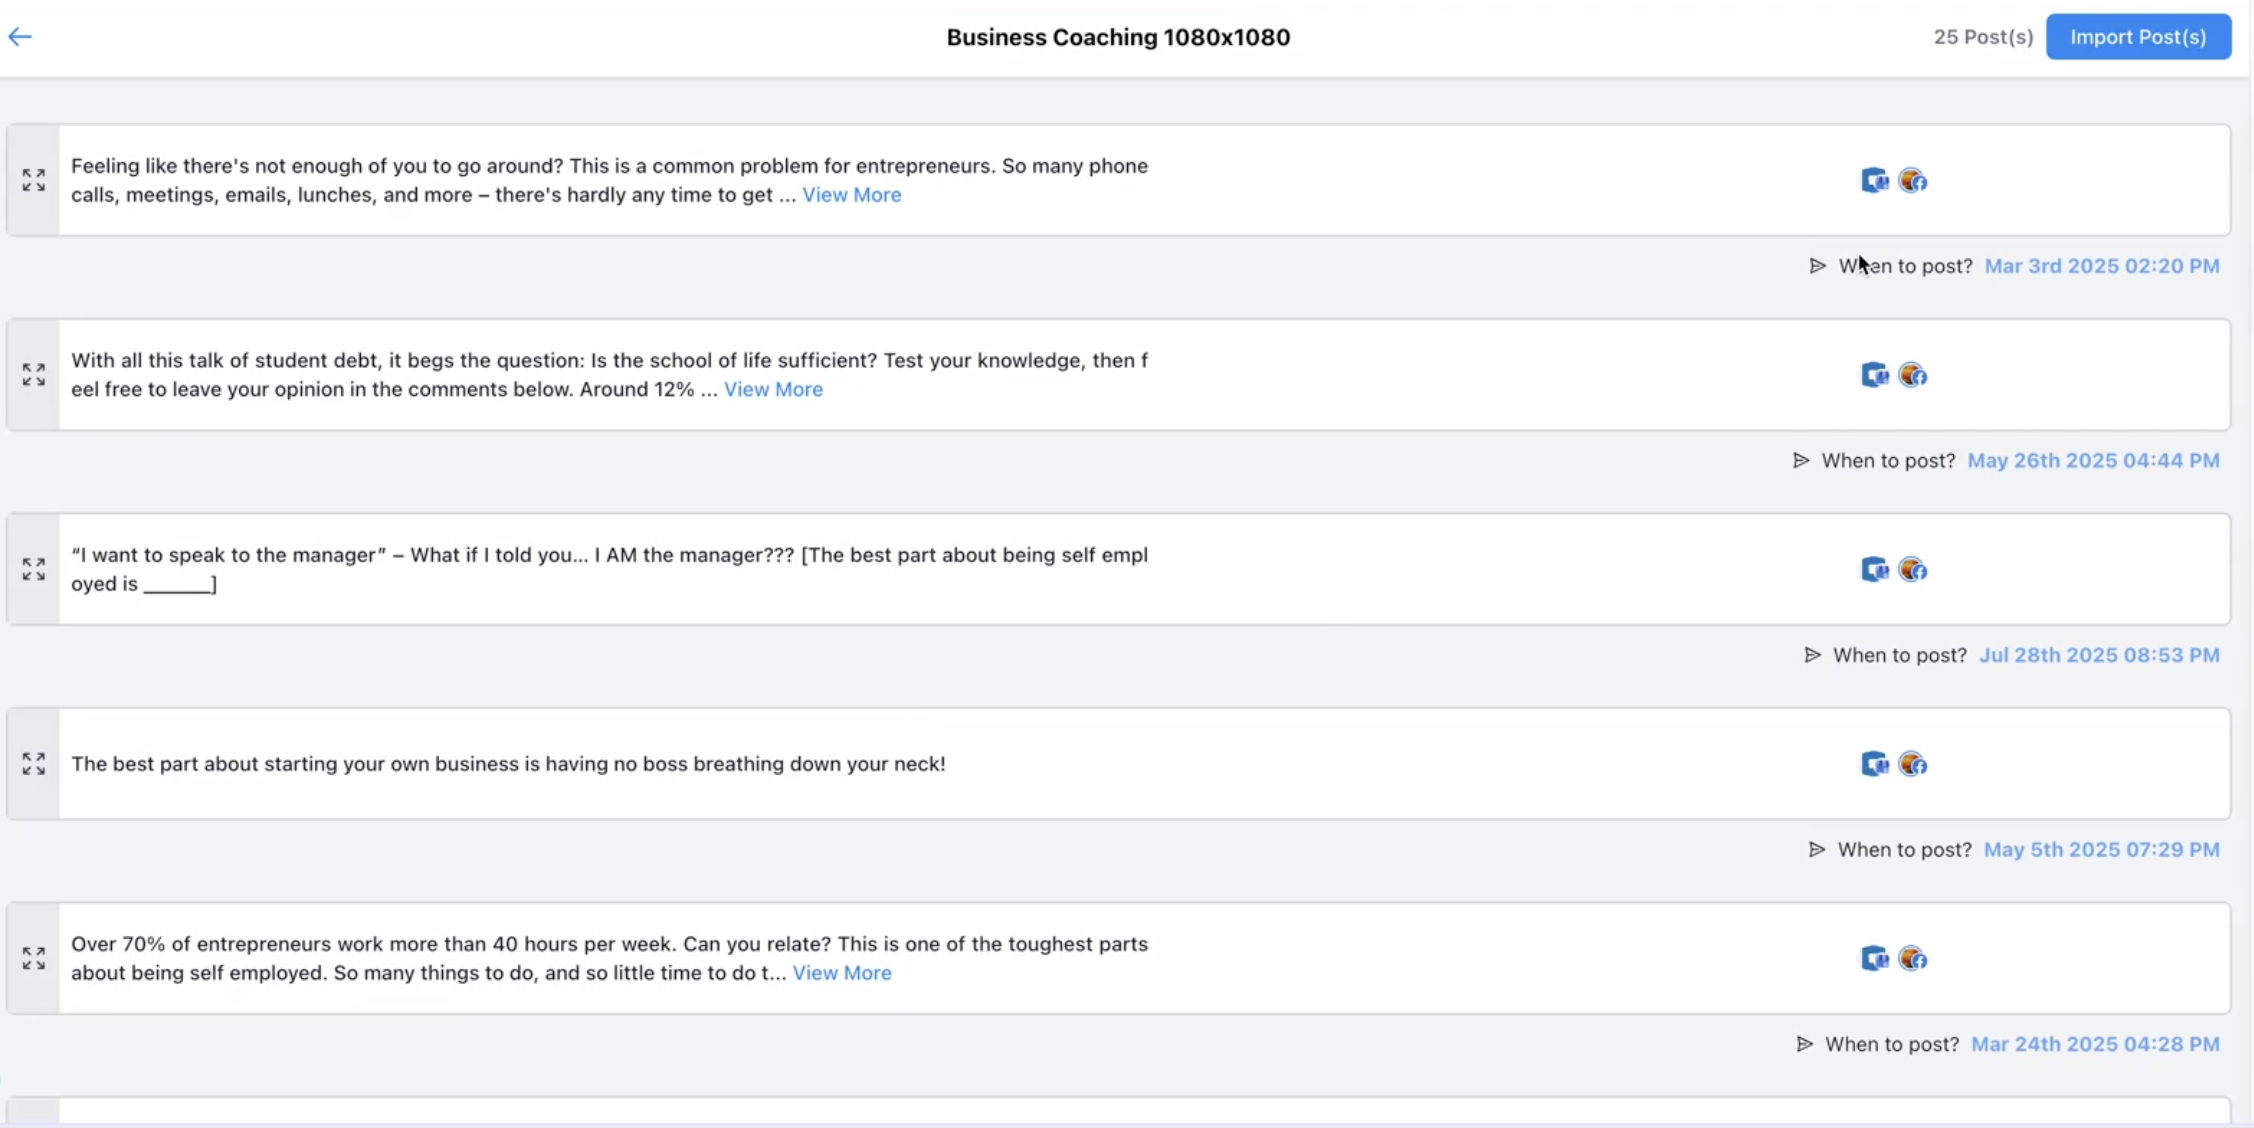
    You can edit text, media, or settings as needed during this final review before publishing.
  • 9Click "Import" to Finalize
    Once satisfied with all details, click "Import" to finalize and add the post to your Social Planner.
Pro Tip

Preview your post across all selected channels before clicking "Import" to make sure formatting looks correct on each platform.

Keep in Mind

The "Review & Schedule" button appears after a brief refresh — wait a moment if you don't see it right away before clicking again.

Was this article helpful?

That’s Great!

Thank you for your feedback

Sorry! We couldn't be helpful

Thank you for your feedback

Let us know how can we improve this article!

Select at least one of the reasons
CAPTCHA verification is required.

Feedback sent

We appreciate your effort and will try to fix the article